Seminar Games Development with iOS (WS13/14)
“Tell me and I will forget.
Show me and I will remember.
Involve me and I will understand.
Step back and I will act.”
iOS Particle Effects with Sprite Kit Tutorial
Table of contents
-
What is a particle effect?
-
Why you should use particle effects
-
What you will learn
-
Programming a particle effect
-
Exercise 1: Properties
-
The Particle Editor
-
Exercise 2: Particle Editor
-
Summary
-
Outlook
1. What is a particle effect?
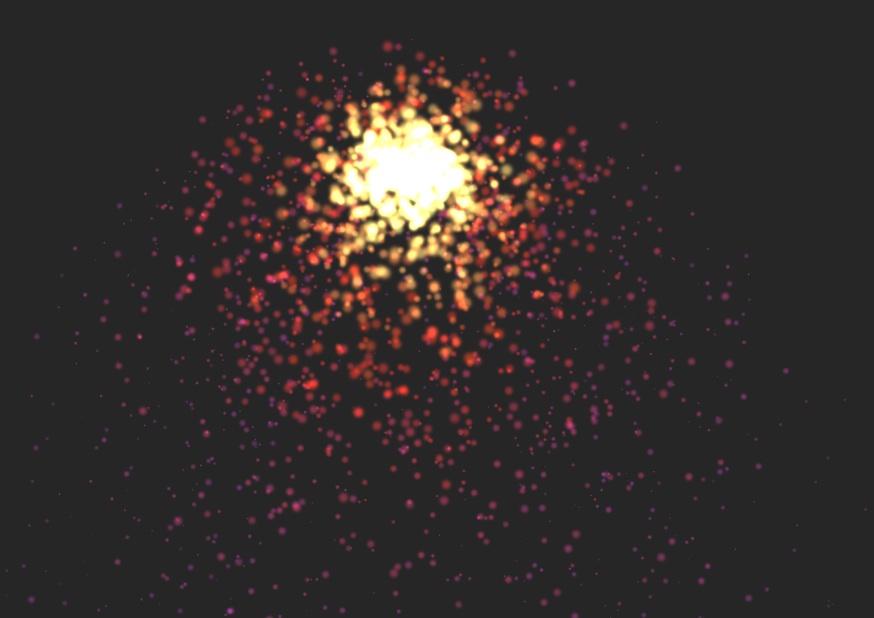
A particle system is a set of seperate small objects, so called particles, it's position and motion is controlled by the emitter. These systems are used to simulate 'highly chaotic' effects, such as fire, water, smoke, explosions and so on. [1],[2]
2. Why you should use particle effects
With SpriteKit in iOS7 it's really easy to create and implement particle systems and add them to your project. Particle systems are the most efficient way to create special effects and render them on screen. And of course: They really look great!


3. What you will learn
In this tutorial you will learn how to create and implement particle systems in iOS7 via instantiating a particle system and setting it's values in code or via the new Particle Editor in Xcode. With the Particle Editor you can create a particle file, design your particle system and link it to your project.
4. Programming a particle effect
So let's start with the basics you need to know. SpriteKit has it's own class for particle systems, the SKEmitterNode Class. It automatically creates and renders small particle sprites. You need to create one instance of this class, set the birth rate of new particles and provide starting values for a particle's properties. Speaking of properties, there are a lot of different values you have to set. Every particle system has a total of 44 different properties, each one influences the look and behaviour of individual particles and of the particle system as a whole. Fortunately you don't need to set all of them in order to see something on the screen. Let's have a look at the some of the most important properties.
- Range properties
- Creation of particles
- Lifetime
- Position
- Velocity and acceleration
- Rotation
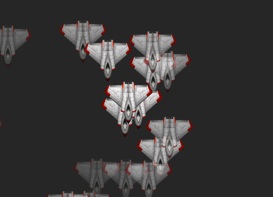
- Scale
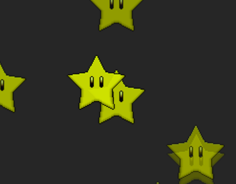
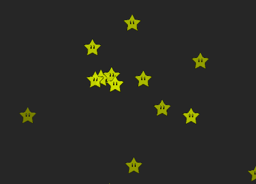
- Texture
| [emitter setParticleTexture:[SKTexture textureWithImageNamed:@"spark.png"]]; |
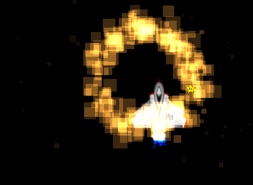
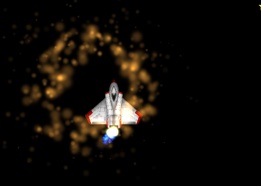
- Color
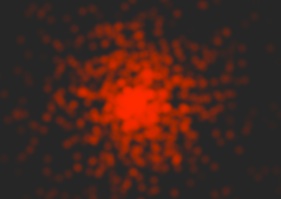
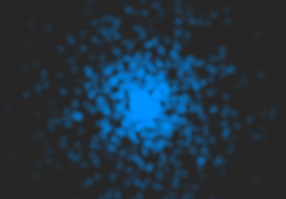
5. Exercise 1: Properties
Now it's time for our first exercise! Download the template project here. We need to add some explosion particle systems to this super realistic space simulator for the iPad. Everytime one of the falling stars hits our spaceship it should explode like in Star Wars! Your task is to create an explosion particle system and set the properties via code.
Open SpaceshipScene.m and in the method (void)didBeginContact:(SKPhysicsContact *)contact add:
|
|
//instantiate new explosion on contact SKEmitterNode *ex = [self newExplosion]; //set the position of contact ex.position = contact.bodyB.node.position; |
In (SKEmitterNode *)newExplosion add the following:
|
//instantiate explosion emitter SKEmitterNode *explosion = [[SKEmitterNode alloc] init]; |
Now uncomment the code and set the right values for the properties in (SKEmitterNode *)newExplosion to create a nice little explosion when your ship gets hit. Rebuild and Test your project after every change to see the results. Don't forget to add your explosion to the parent node.
Exercise 1: possible solution
If you didn't make it by yourself, here are some values which should work:
|
-(SKEmitterNode *)newExplosion { //instantiate explosion emitter SKEmitterNode *explosion = [[SKEmitterNode alloc] init];
[explosion setParticleTexture:[SKTexturetextureWithImageNamed:@"spark.png"]]; [explosion setParticleColor:[UIColor brownColor]]; [explosion setNumParticlesToEmit:100]; [explosion setParticleBirthRate:450]; [explosion setParticleLifetime:2]; [explosion setEmissionAngleRange:360]; [explosion setParticleSpeed:100]; [explosion setParticleSpeedRange:50]; [explosion setXAcceleration:0]; [explosion setYAcceleration:0]; [explosion setParticleAlpha:0.8]; [explosion setParticleAlphaRange:0.2]; [explosion setParticleAlphaSpeed:-0.5]; [explosion setParticleScale:0.75]; [explosion setParticleScaleRange:0.4]; [explosion setParticleScaleSpeed:-0.5]; [explosion setParticleRotation:0]; [explosion setParticleRotationRange:0]; [explosion setParticleRotationSpeed:0];
[explosion setParticleColorBlendFactor:1]; [explosion setParticleColorBlendFactorRange:0]; [explosion setParticleColorBlendFactorSpeed:0]; [explosion setParticleBlendMode:SKBlendModeAdd];
//add this node to parent node [self addChild:explosion];
return explosion; } |
This was not exactly fast and easy. But fortunately theres a better way to do this!
6. The Particle Editor
Xcode has a built in Particle Editor where you can directly see the results when changing some values. The implementation works with just a few lines of code because you don't need to set any properties.
Let's create our first particle file! In Xcode go to File->New->File then choose Resource and add a SpriteKit Particle File to your project. In the next screen you can choose between different particle templates. We need the fire template for the following exercise but feel free to try out some of the other templates too! After you have created the particle file you should see this emitter Inspector in Xcode:
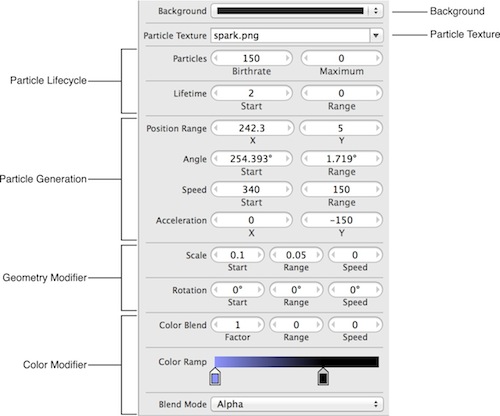
As you can see all the important properties are listed here. On the top there is the background pop-up menu, it changes the color of the Editor background. When the game is built, the background color is saved, but is not used at runtime.
Below the background you can set the particle texture. You can choose any image file you have added to your project, but keep in mind that the larger or more complex your image is, the more resources it uses.
And below the particle texture, you can set all the desired properties. There are properties determining the life cycle of your particle systems with birthrate, lifetime and maximum particles to emit. Then theres the particle generation section with emission angle, particle speed, acceleration and position range. Be careful here: Position range determines the random range in which the particles are emitted from the initial emitter position, not the position of the particle system itself!
The geometry modifier section with scale and rotation changes the look of a particle. And last but not least, the color modifier section determines the blending and color of your particles. You can even set multiple color values depending on the current lifecycle of a particle. To do that, simply click anywhere on the color ramp and set the desired color. Drag the colors where you want them in the lifecycle along the color ramp.
7. Exercise 2: Rocket Trail Effects
Now it's time for our second exercise! Our spaceship needs some rocket trail effects to make it look more realistic.
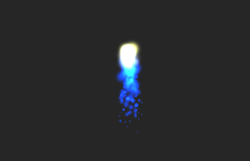
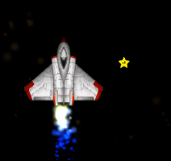
Use your fire template particle file and play around with the different values to create something that looks like a rocket trail!
When you're done go back to the SpaceshipScene.m file.
In (SKEmitterNode *)newFireEmitter we need a path to our SpriteKit particle file:
|
NSString *firePath = [[NSBundle mainBundle] pathForResource:@"name_of_your_particle_file" ofType:@"sks"]; |
And now we need to instantiate a new SKEmitterNode with our file path and return it:
|
SKEmitterNode *fire = [NSKeyedUnarchiver unarchiveObjectWithFile:firePath];
return fire; |
In order to see our particle on screen at the right position we need to add some lines in the (SKSpriteNode *)newSpaceship method.
Instantiate the rocket trail for our spaceship:
| SKEmitterNode *rockettrail = [self newFireEmitter]; |
Add the particle system to the spaceship node:
| [spaceship addChild:rockettrail]; |
And finally, build and run your project.
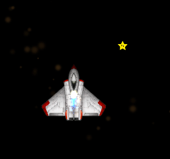
Something seems to be wrong with our rockettrail. It's your turn to figure out what is wrong!
Hint: maybe you need to set a few properties before adding the emitter node to the spaceship.
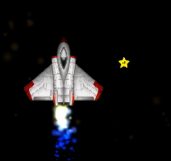
Exercise 2: possible solution
If you couldn't figure it out, have a look at this:
|
SKEmitterNode *rockettrail = [self newFireEmitter];
//the y-position needs to be slightly behind the spaceship rockettrail.position = CGPointMake(0, -180.0);
//the particle systems is too small, let‘s double its size rockettrail.xScale = 2.0; rockettrail.yScale = 2.0;
//changing the targetnode from spaceship to scene so that it gets influenced by movement rockettrail.targetNode = self.scene;
[spaceship addChild:rockettrail]; |
8. Summary
Ok now what have we learned today? Particle systems can create beatiful special effects with little effort, but programming particle effects is cumbersome and takes a lot of time. In iOS7 we can use the Particle Editor, which makes it very easy to change the large amount of different properties and instantly see their effect.
This is it! I hope you enjoyed my little tutorial and use some of those great particle systems in your app. ;-)
Happy coding!
9. Outlook
Here are some further readings for you if you want to learn more about the topic:
- Apple Particle Emitter Editor guide:
- SKEmitterNode Class Reference:
References
Projects
